Create Your Curvy Wallet
Curvy is a self-custody wallet. That means you control your account. If you lose access, nobody, not even Curvy, can recover it. So please read the following steps carefully and follow them to stay safe.
Step 1: Connect a Wallet
To get started:
- Tap
Connect Walleton the Curvy web app.

- Select the wallet you’d like to use to create your Curvy account (e.g. Argent, MetaMask, Braavos). The wallet you connect becomes the key to your Curvy account. Combined with the password you’ll set up in the next steps, it gives you the most secure way to access and manage your Curvy wallet.
Step 2: Sign the Setup Message
Once you connect your wallet, Curvy will ask you to sign a message. This isn’t a blockchain transaction, it’s a local action that enables your wallet to generate the keys needed to manage your Curvy account and funds. This happens entirely in your browser. Your private keys stay on your device and are never uploaded, shared, or stored anywhere else.
Step 3: Set Up Your Curvy ID
Once your wallet is connected and keys are generated, you’ll set up your Curvy ID, a personalised, ENS-compatible username like yourname.curvy.name
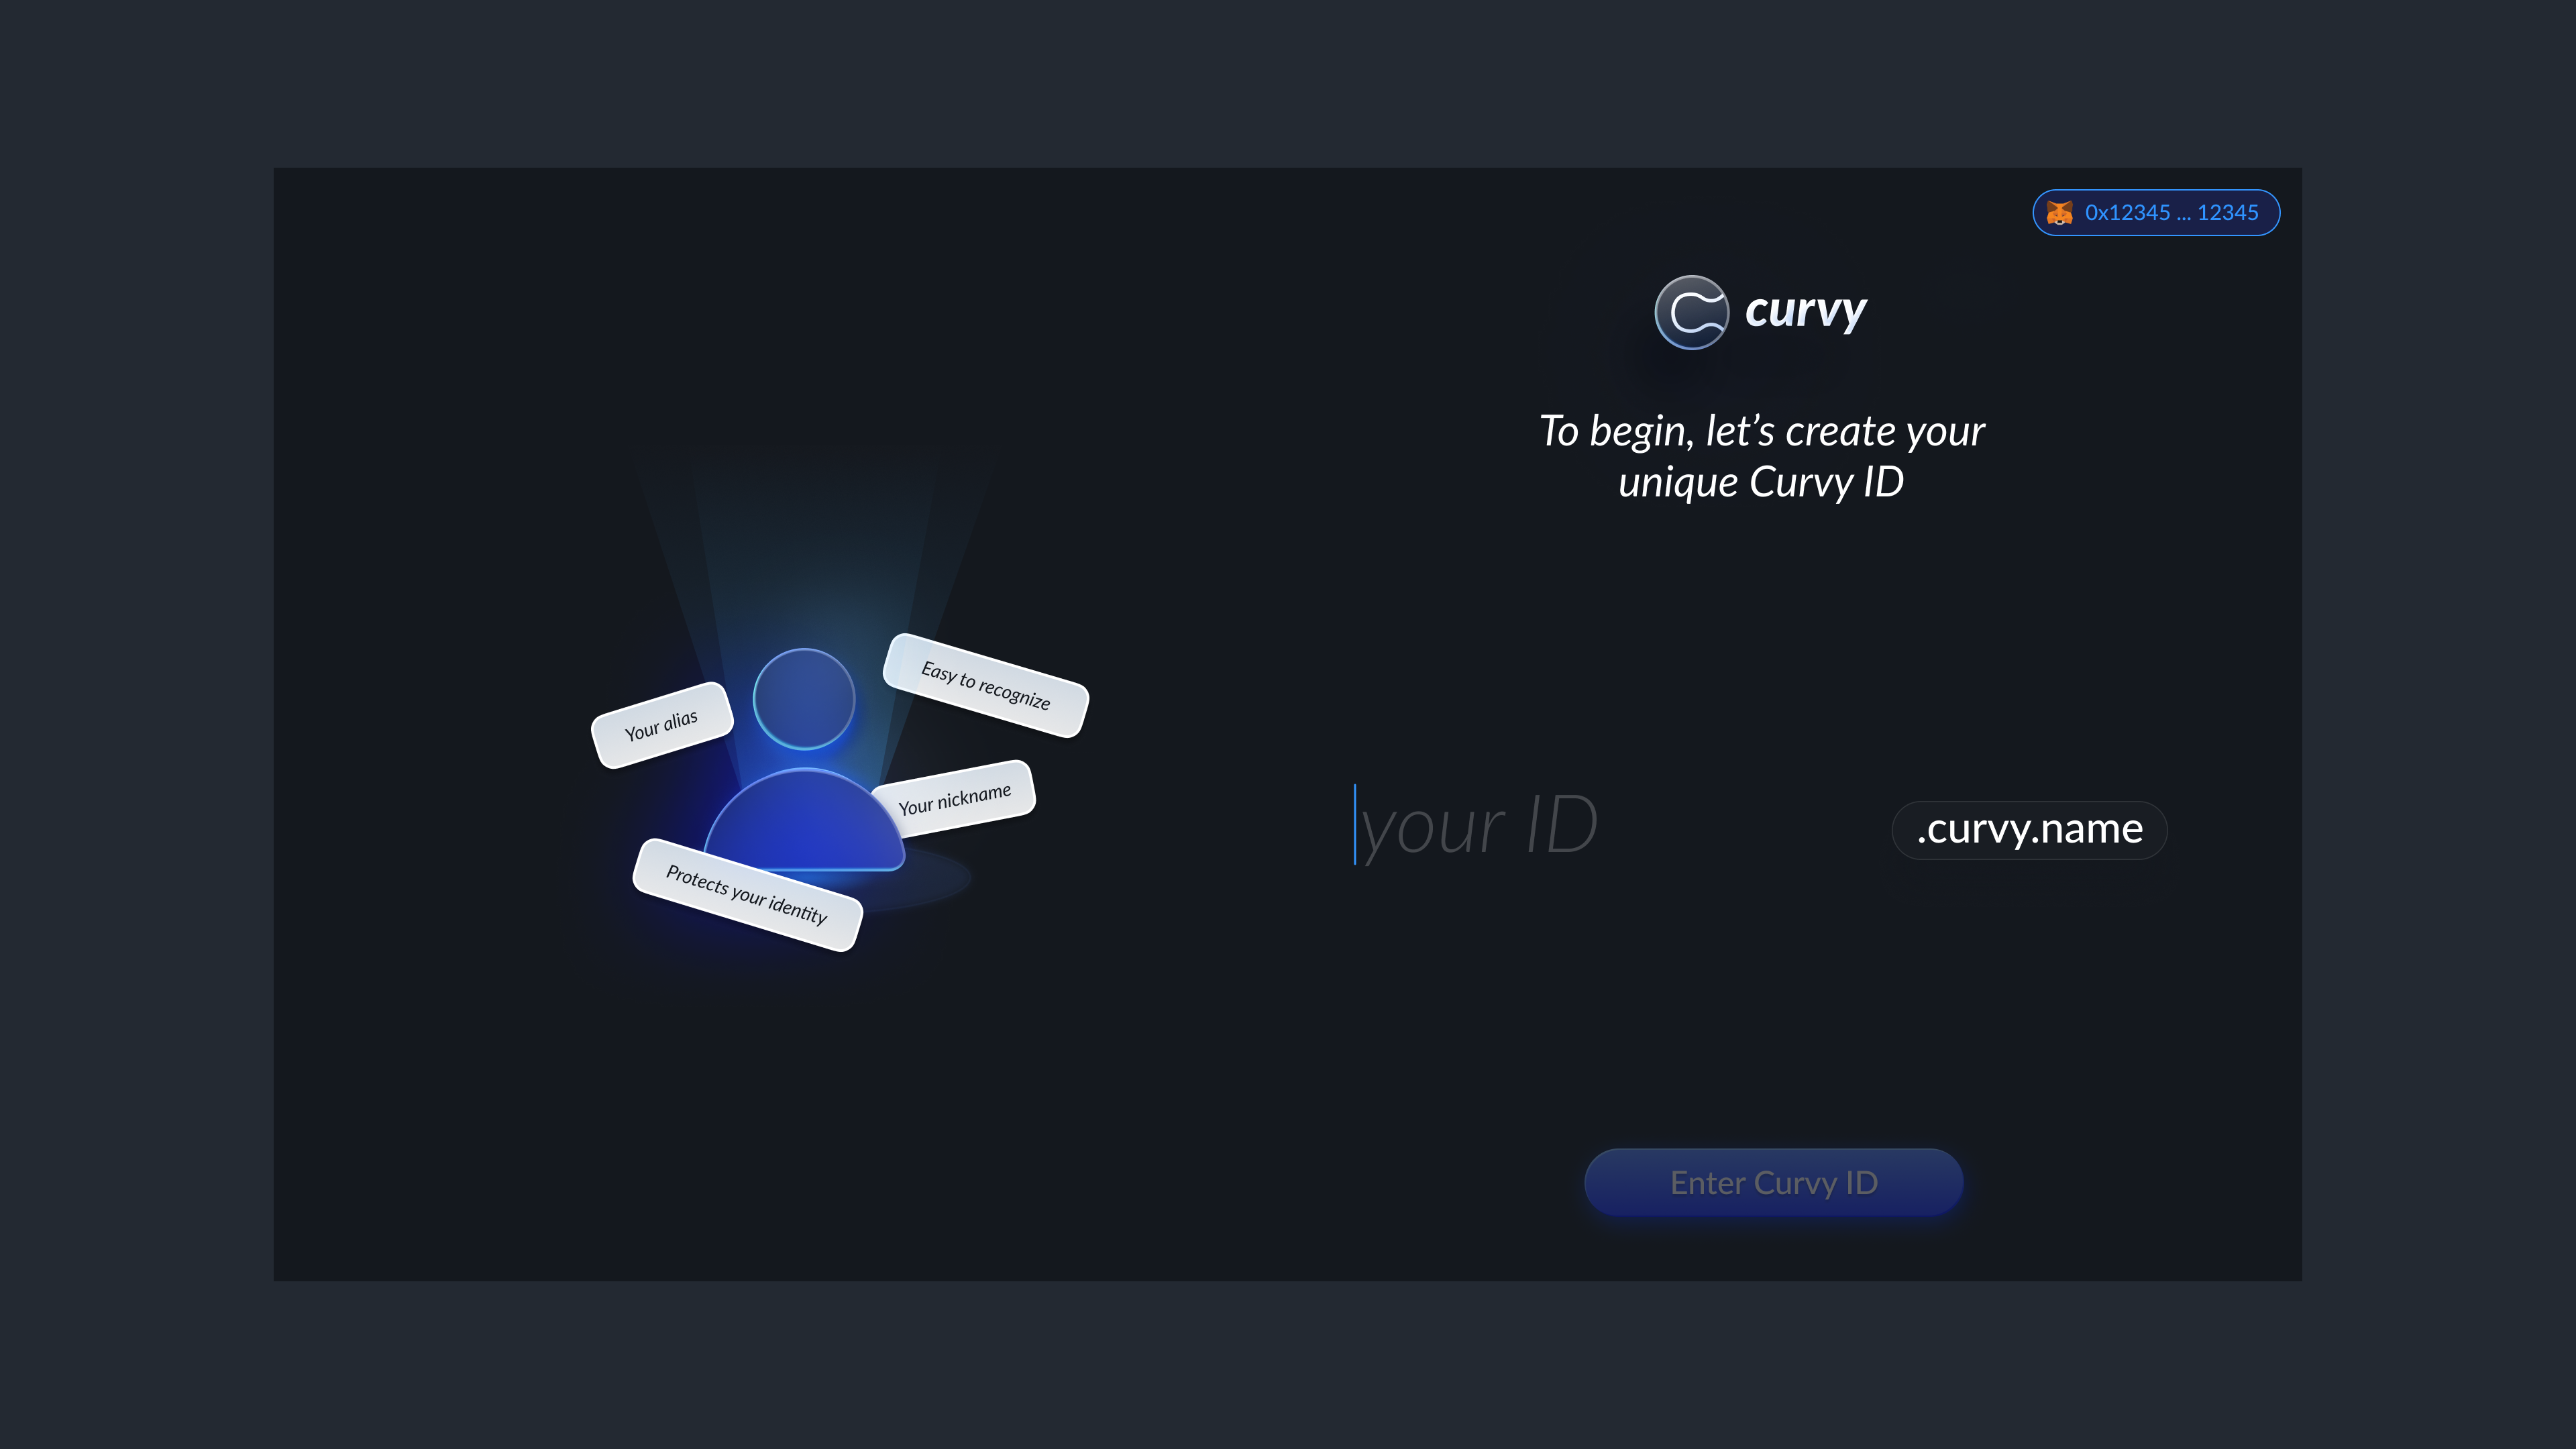
Anyone can send funds to your Curvy ID privately. Each time it’s used, Curvy generates a brand-new stealth address ensuring there’s no link between one transaction and the next.
Step 4: Create a Password
After choosing your Curvy ID, you’ll set a password to protect your wallet on this device. This ensures that even if someone gets access to your browser or device, they won’t be able to use your wallet without the password.
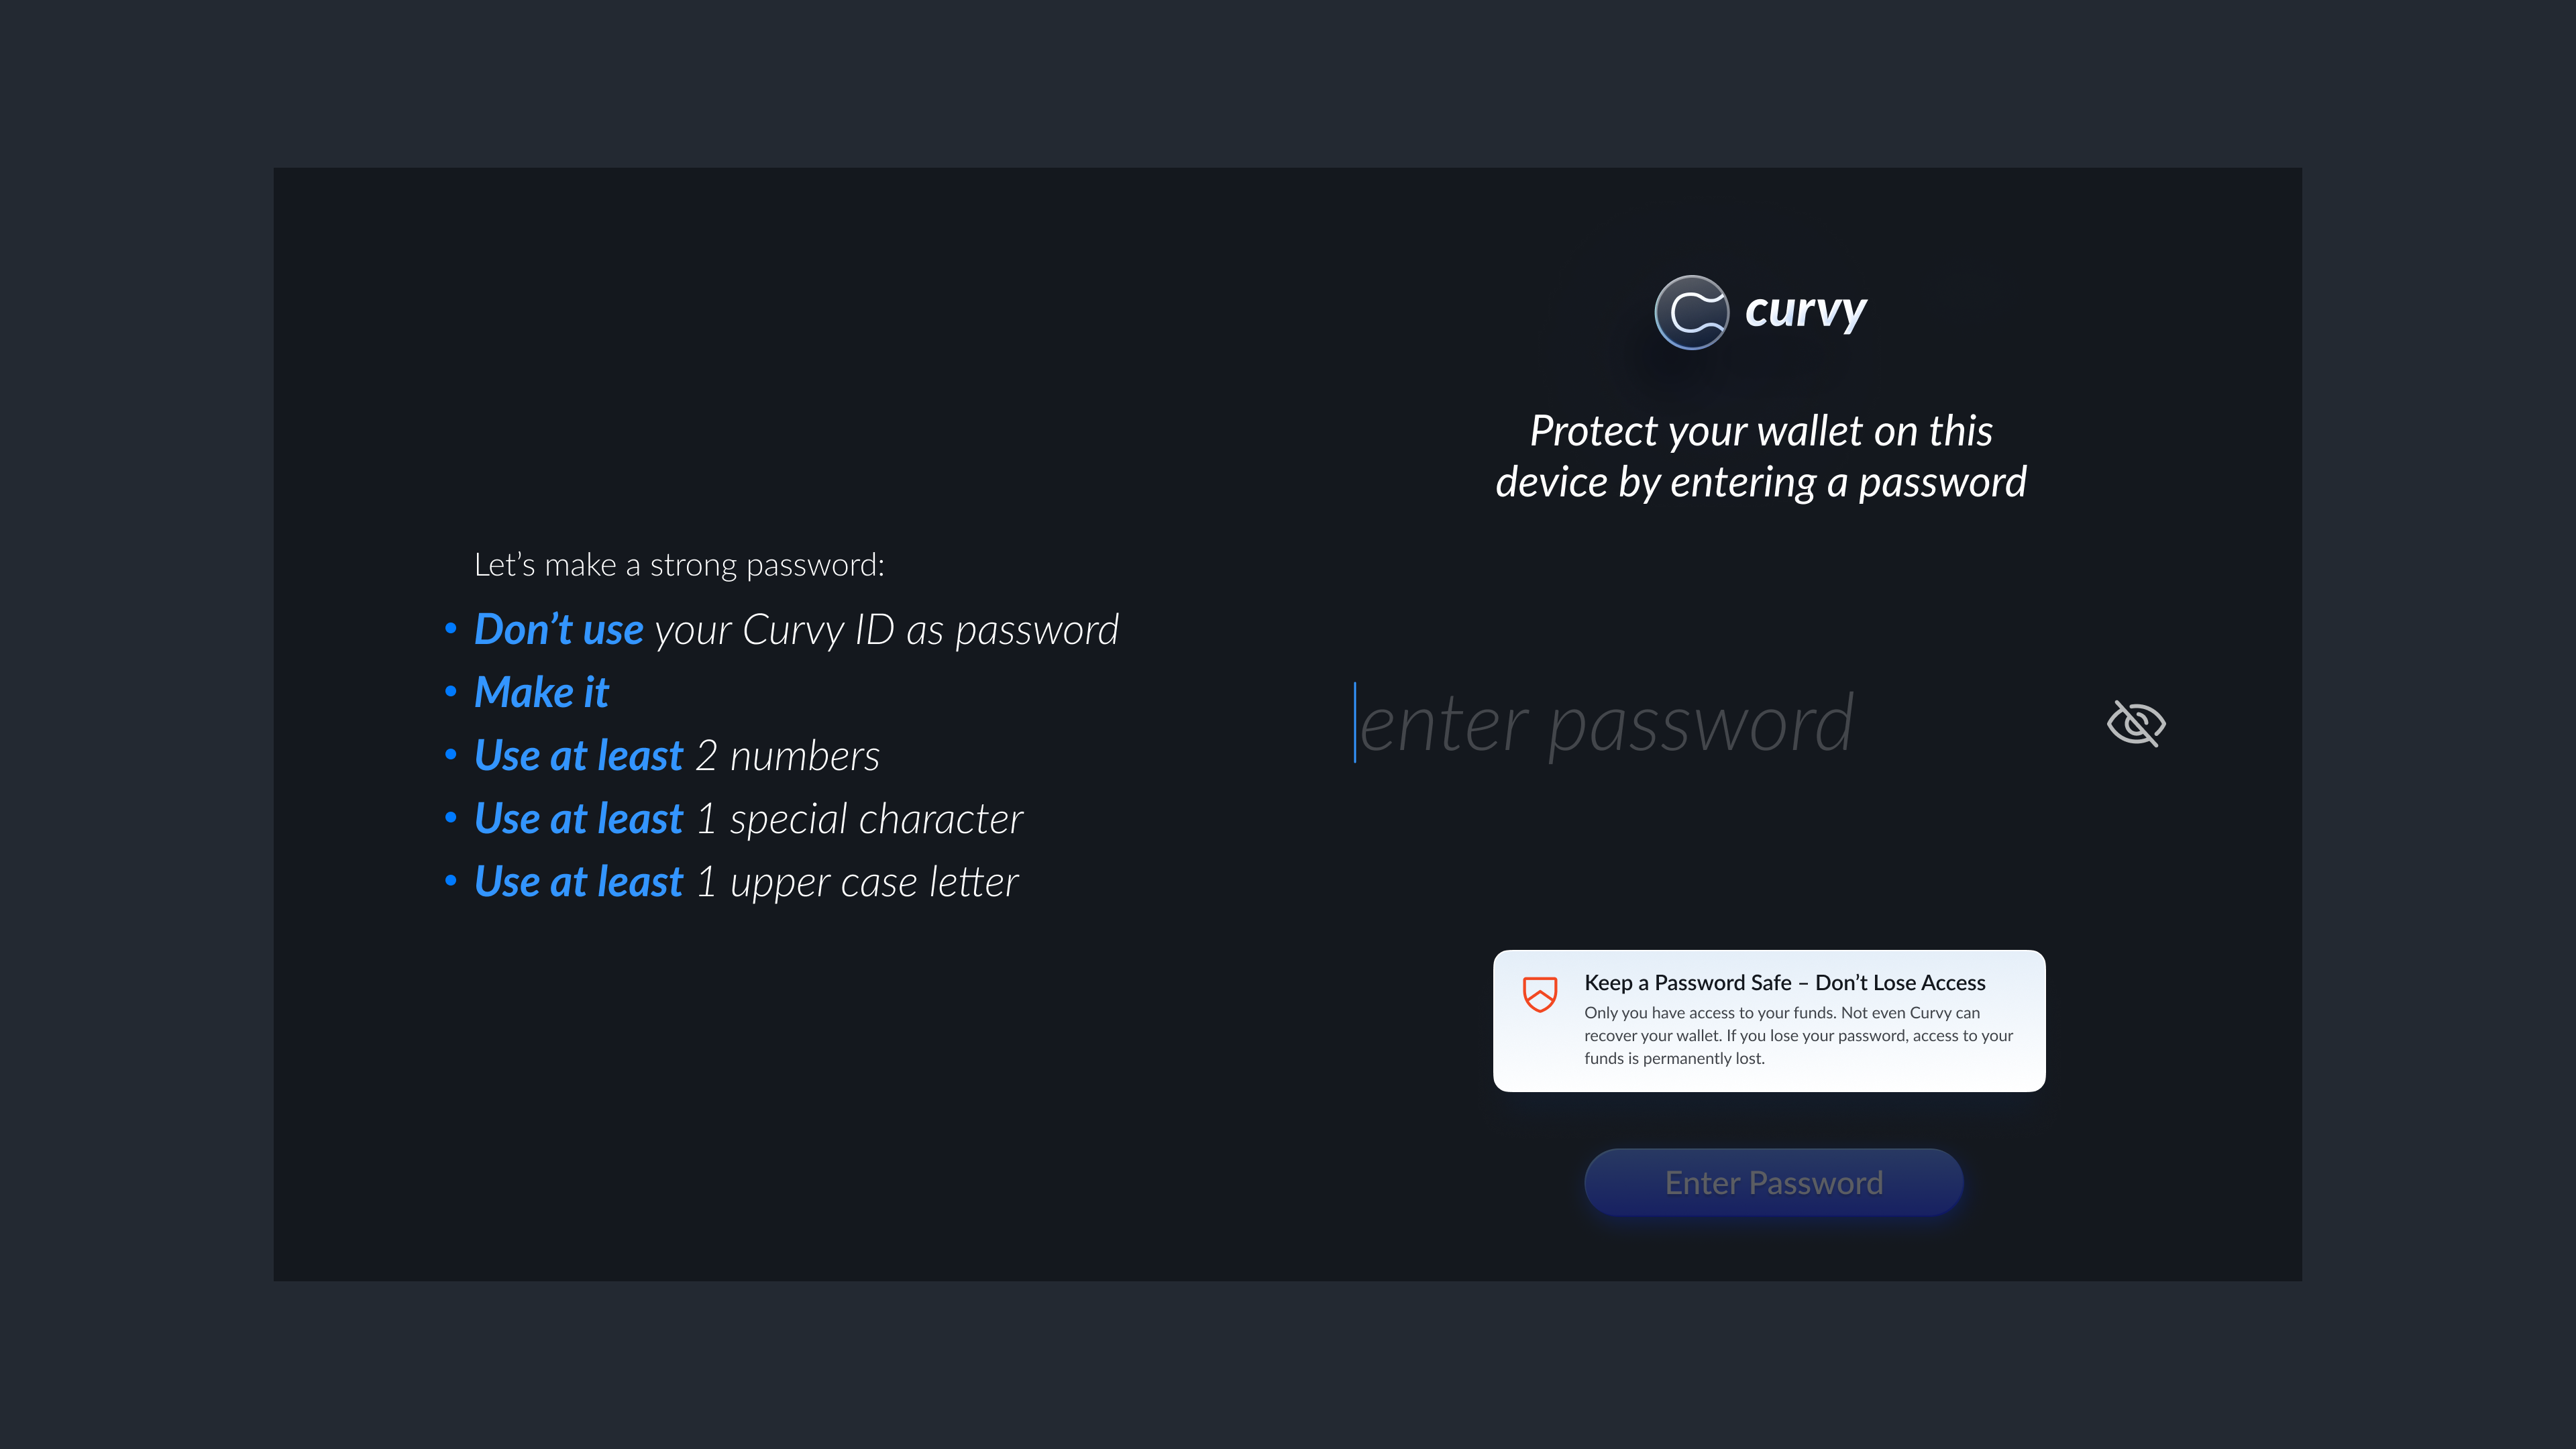
WARNING
Curvy never stores your password or private keys. If you lose your password and private keys, your funds can not be recovered and access is lost permanently.